Cómo imprimir fotos
Puede imprimir archivos JPG, GIF, TIFF, BMP y PNG con la aplicación Epson iPrint.
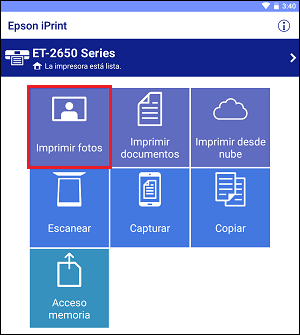
- Toque Imprimir fotos en la pantalla de inicio de la aplicación.
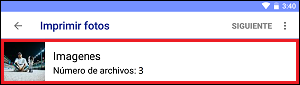
- Toque un álbum de fotos.
- Haga lo siguiente:
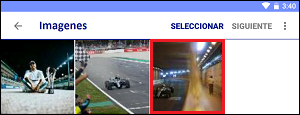
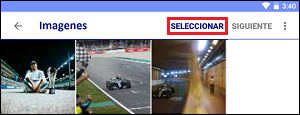
- Si desea ver una versión ampliada de una foto antes de imprimirla, toque la foto.
Toque Seleccionar para añadir la foto a su trabajo de impresión.
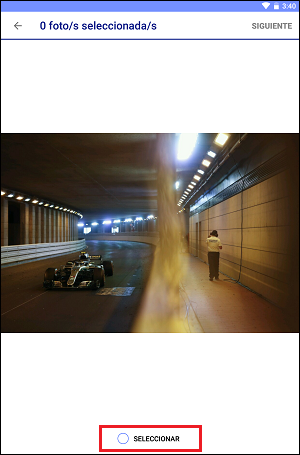
Si desea seleccionar más fotos, toque la flecha hacia atrás y repita este proceso. Cuando termine, toque Siguiente. - Para seleccionar fotos sin ampliarlas o para seleccionar varias fotos rápidamente, toque Seleccionar.
Toque las fotos para añadirlas a su trabajo de impresión.

Cuando termine, toque Siguiente.
- Haga lo siguiente, según sea necesario.
- Para cambiar el tamaño del papel, la calidad de impresión y otros ajustes, toque
 .
.
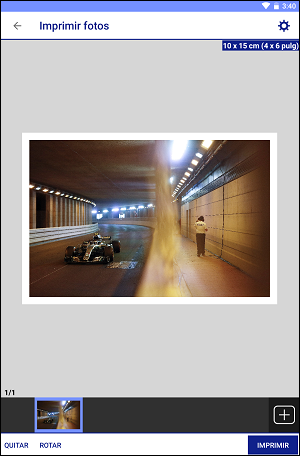
Nota: Estos ajustes aplican a todas las fotos en su trabajo de impresión. - Si su foto es más grande que el tamaño del papel actualmente seleccionado, puede tocar la foto y arrastrarla para ajustar el recorte.
- Para alternar entre una orientación horizontal y vertical, toque Rotar.
- Para añadir o eliminar fotos de su trabajo de impresión, toque
 .
. - Para desplazarse por las fotos en su trabajo de impresión, toque las imágenes en miniatura en la parte inferior de la pantalla.
- Para eliminar la foto actualmente seleccionada del trabajo de impresión, toque Quitar.
Cuando esté listo para imprimir, toque Imprimir.


