-
Impresoras
Impresoras
- Hogar y Fotografía
- Impresoras y Fotocopiadoras de Oficina
- Impresoras de Gran Formato
- Impresoras de Etiquetas y Prensas
Impresoras y Fotocopiadoras de OficinaImpresoras de Gran FormatoImpresoras de Etiquetas y PrensasLinks Útiles - Tintas
-
Proyectores
Negocios y EducaciónProyectores ProfesionalesLinks ÚtilesAplicaciones
-
Escáneres
Links ÚtilesAplicaciones
-
Puntos de Venta
Puntos de Venta
- Impresoras de Recibos
- Impresoras de Etiquetas
- Escáneres de Cheques
Impresoras de RecibosAplicacionesImpresoras de EtiquetasAplicacionesEscáneres de ChequesAplicacionesKitchen Display SystemsLinks ÚtilesAplicacionesSAT -
Robots
- Soluciones
-
Soporte
Soporte de ProductosHerramientas y Recursos
basket.notAdded.to.basket
Videos Tutoriales de Proyectores BrightLink
Proyectores Interactivos para Educación
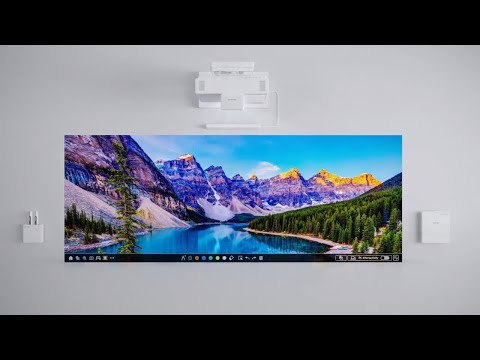
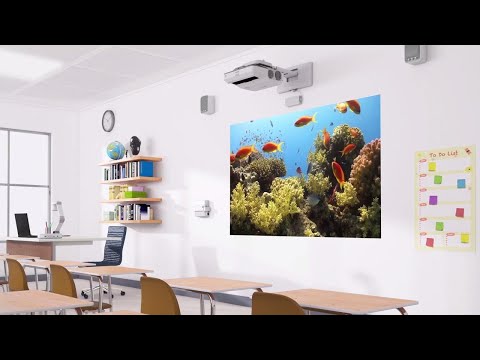
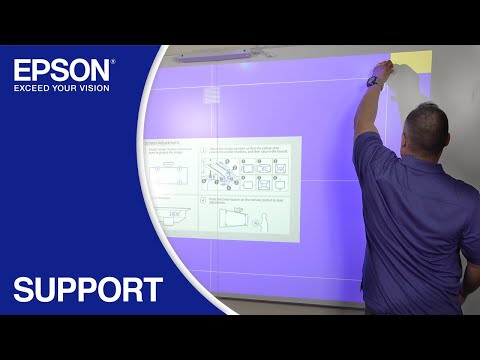
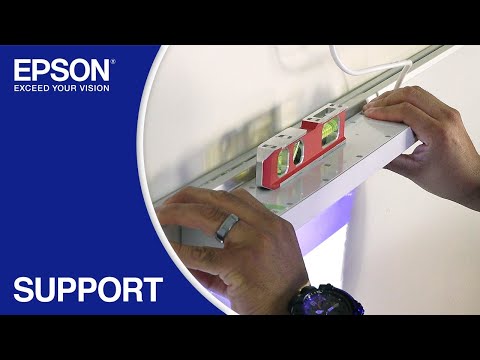
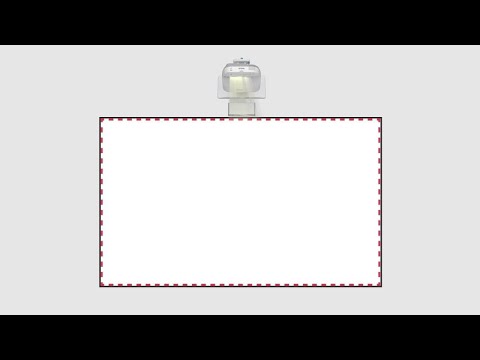
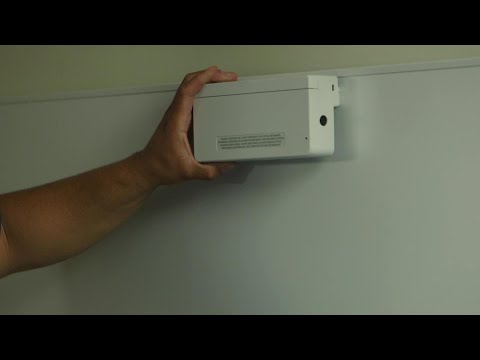
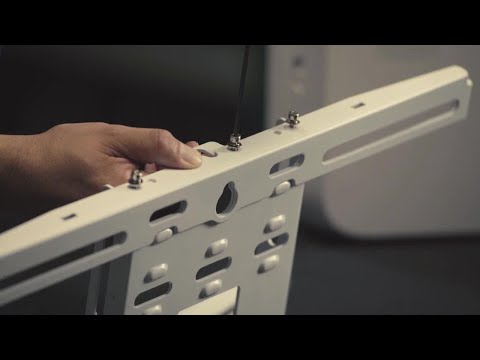
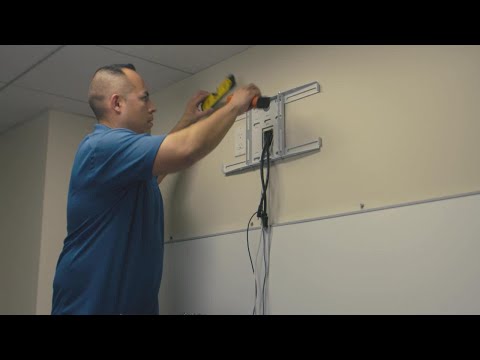
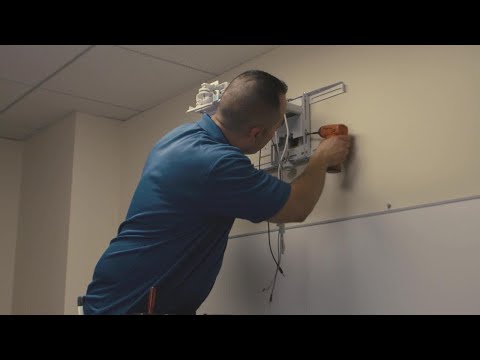
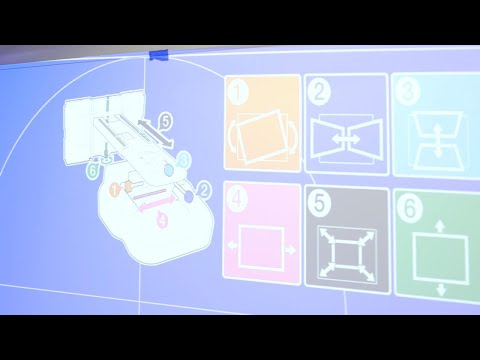
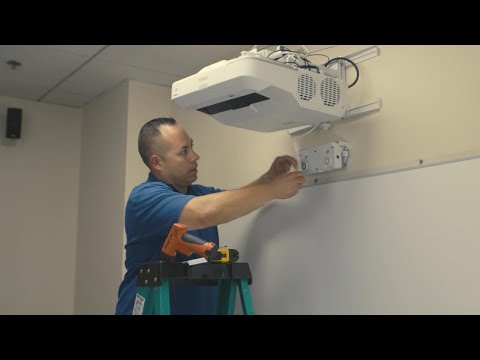
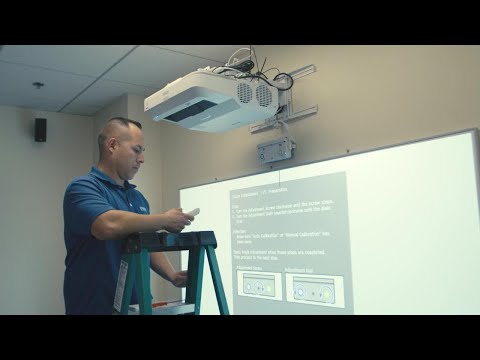
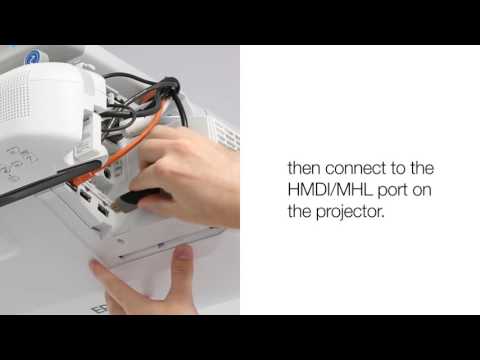
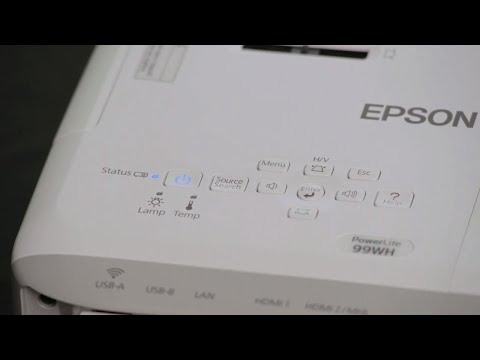
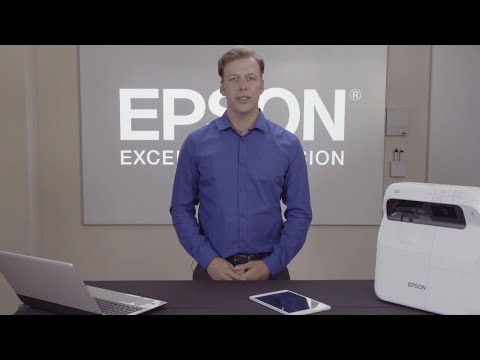
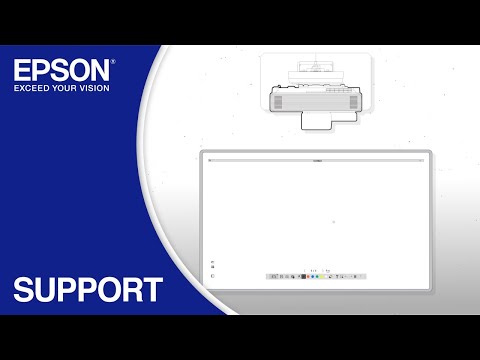
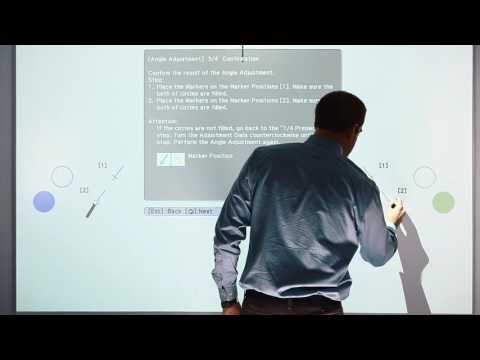
Instalación del BrightLink
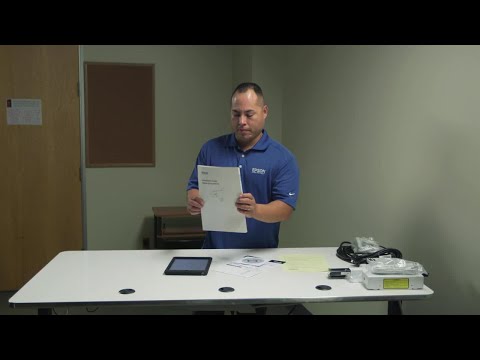
Cómo instalar Proyector Interactivo BrigthLink 1485Fi+
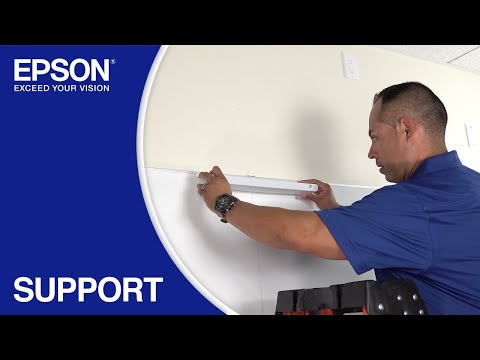
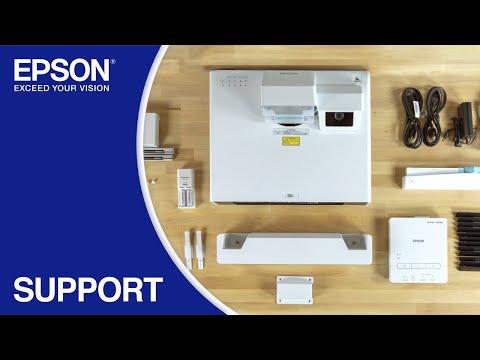
Instalación de BrigthLink Serie 600. 675Wi+, 685Wi+, 695Wi. BrightLink 710Ui BrightLink Pro 1450, 1460, 1470Ui.
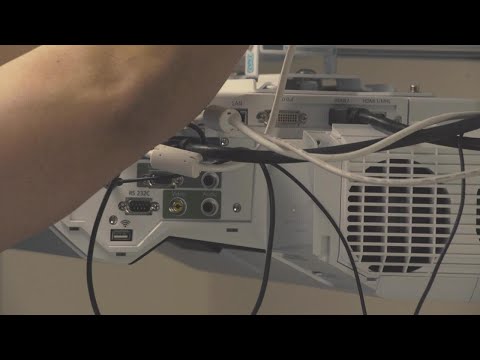
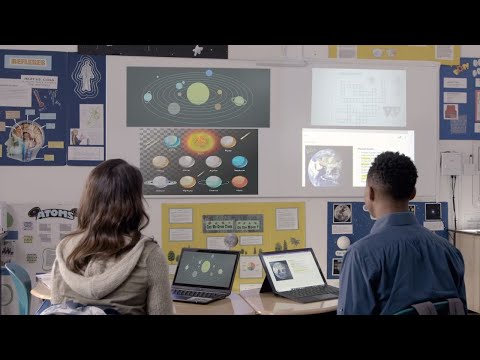
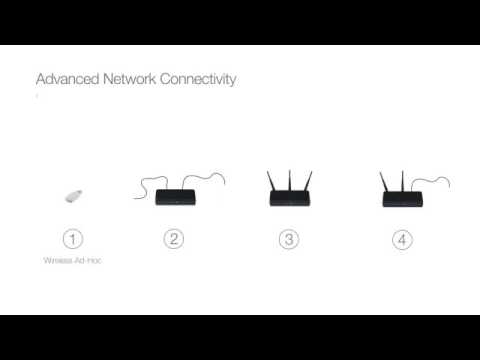
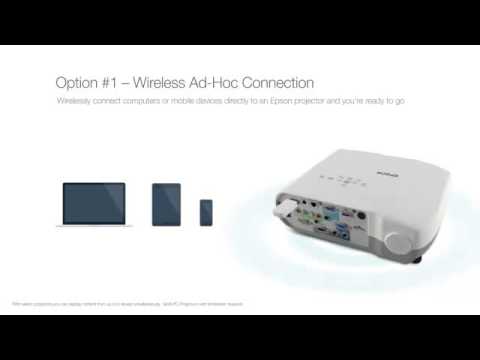
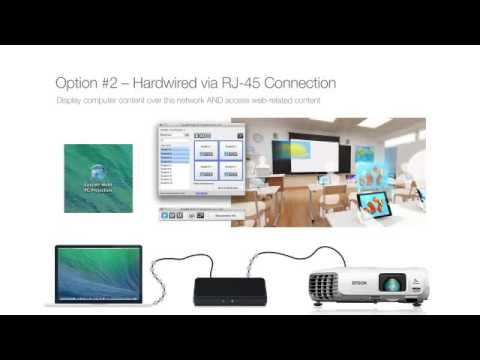
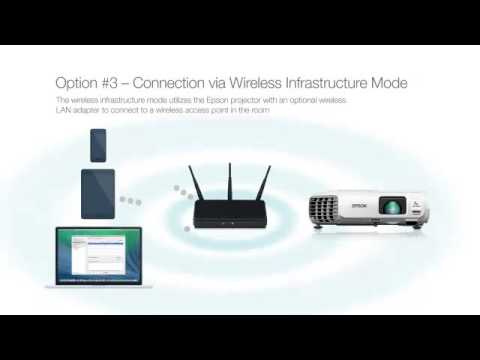
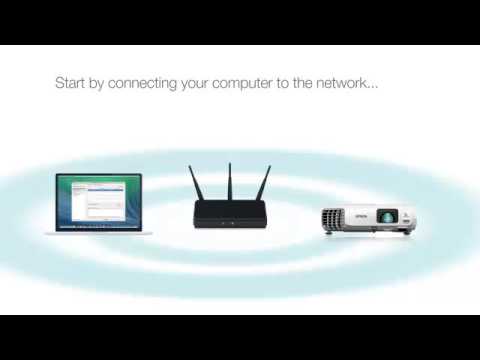
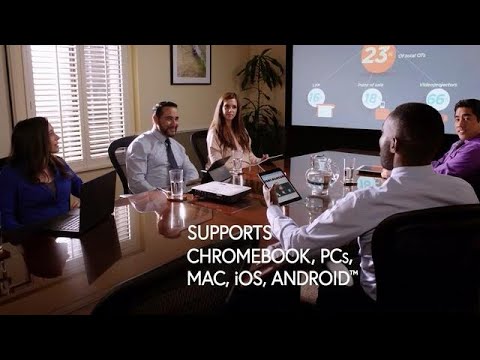
Conectividad del BrightLink
Software y Aplicaciones Epson
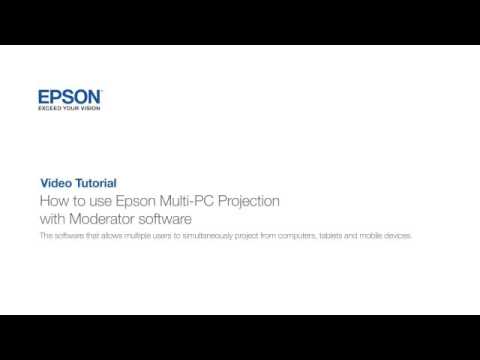
Proyección Epson Multi-PC con software de moderador
Epson iProjection App
Compartir Contenido
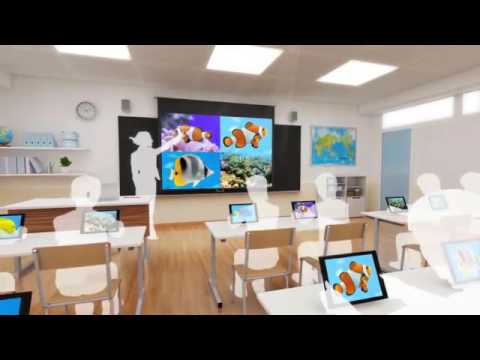
Funciones del BrightLink
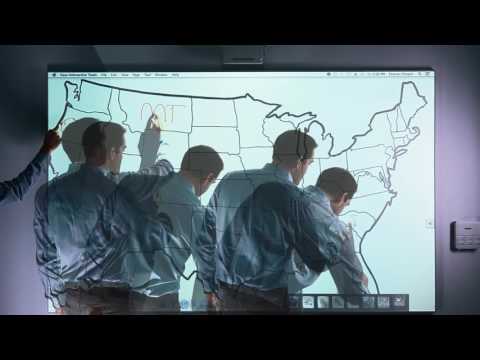
Herramientas interactivas
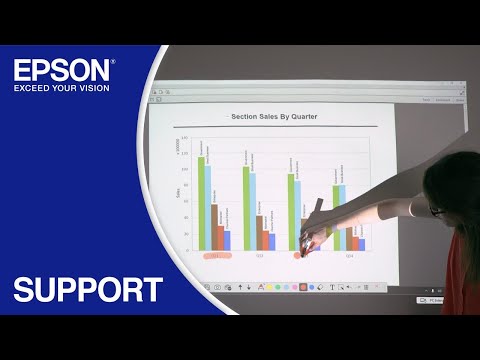
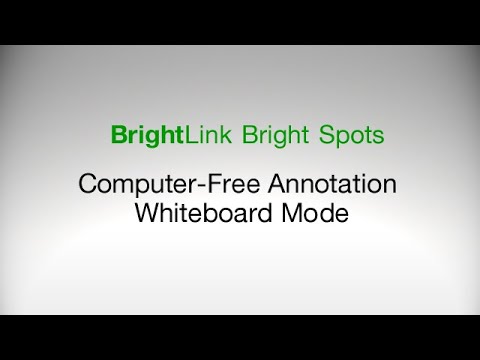
Anotaciones
Función Táctil
Accesorios del BrightLink
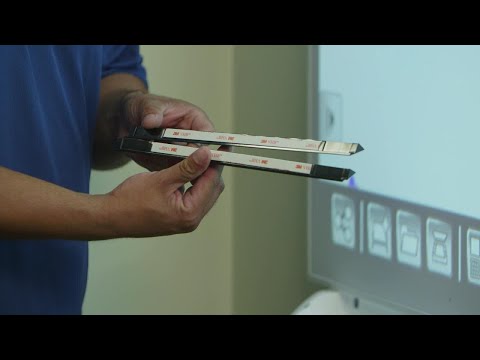
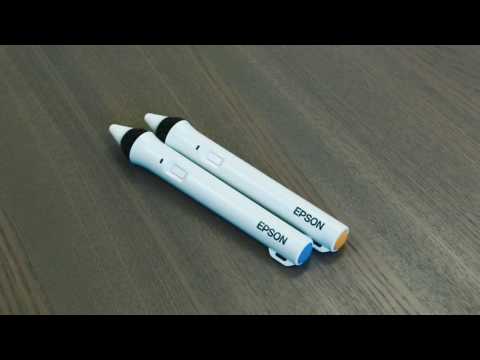
BrightLink - Lápiz
Control Remoto